Holding a Handgun for MAXIMUM Accuracy: Try These 3 Tips
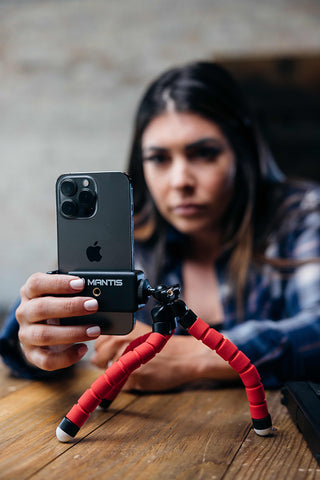
Are you a new gun owner and want to know where to start your training? Learning how to properly hold a handgun gives you the ability to build on your shooting skills and can be one of the best places to start. You will find three tips to start with and a step-by-step process to help you train!
Tip #1: Understand the mechanics and forces driving the firearm.
To properly hold your handgun, you need to understand the goal of an accurate grip. Your goal is to keep the firearm on target as you fire a round. The mechanics of the handgun determine what techniques will give you the most control.
When you pull the trigger, the bullet leaving the firearm causes the force we refer to as recoil. The majority of how to grip your firearm will be determined by how you choose to control that force.
When you fire a shot, the slide reciprocates in a reward motion. Imagine an arrow on the slide pointing from the muzzle back to you. This is where the force from the shot is driving backward. Understanding the reciprocating motion has shaped the modern two-thumbs forward grip to emphasize maximum control and is why it is important to have as much skin contact as possible on the firearm.
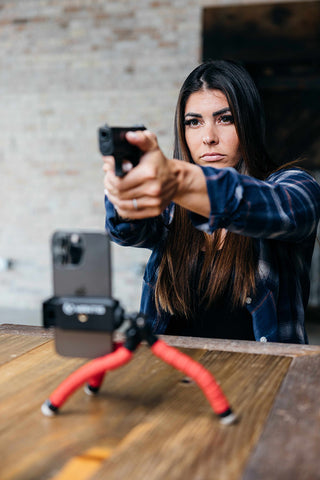
In the two thumbs forward grip, your dominant hand will be on the firearm with the thumb aligned with the slide. Your support hand will wrap around the grip, with your support hand thumb just under your dominant thumb. Both thumbs will be “pointing” down range.
Tip #2: Understand how you are counteracting the force of the firearm.
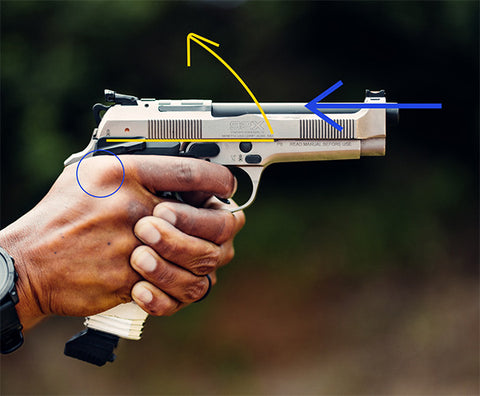
The design of the handgun needs to be taken into consideration. How far up the back end of the gun, known as the back strap, can your dominant hand grip the firearm? Look at the slide and you can imagine the axis the firearm will recoil (Blue Arrow) on as it is in your hand (Blue Circle). As the slide reciprocates back from the shot, the handgun tends to rock upwards because the slide is above the backstrap (Yellow Curved Arrow). As a shooter, you want to minimize the muzzle flip as much as possible by reducing the recoil axis. That is why you try to grip the gun as high on the grip/ backstrap as possible.
You are the counterforce against the recoil. However, you do not want to exaggerate pushing against the force of the recoil. Actively pushing or trying to beat the recoil can cause anticipation of the recoil and you end up driving the firearm down before you finish the trigger press (Your shot will hit low of the intended target).
Now imagine the recoil being absorbed through your grip, into your arms, and your shoulders. Can you use your muscle groups to your advantage? We can use our arms to push and pull the firearm into a stable hold. Some of the standard grip practices will have you push into the grip of the handgun with your dominant hand and pull the firearm back with your support hand to create isometric tension. Essentially, you are trying to become a vice for the firearm. The gun will shoot straight if you can hold it straight.
When you look at how your dominant palm grips the handgun, you will notice that the area on the backstrap that you can see appears wider at the bottom. Your support hand comes into play now. If you take your support hand and fill in the “gap,” you can counteract the force that escapes your dominant hand. The force of the recoil will try to take the path of least resistance, similar to how a river always flows downhill.
In addition, your pinky can give you the extra advantage you may need. A surprising percentage of your grip strength comes from your pinky! Try using your dominant hand pinky to grip the gun into the back of the palm of your hand.
Actions to test:
Pinky pressure/ no pinky pressure
Thumb forward/ down
High grip/ Low grip
Drive palms together at the backstrap/ Loose palms
Push/ Pull
Trigger guard pointer/ under or over
Active Self-Protection made a great video on this a few years ago that you can reference.
The Science Behind Recoil and Grip- ASP
Tip #3: Test out different methods.
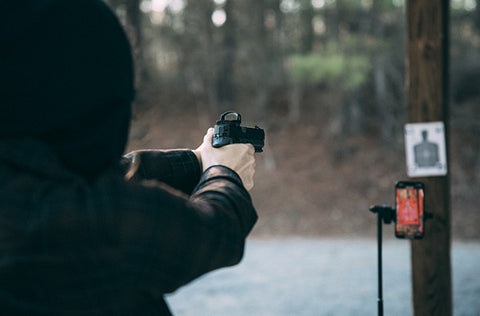
You will find that tools are available to help you determine the best grip for you and your firearm. The Mantis X10 can track your recoil from shot to shot as you test different grip positions. It will track your time to recover back on target, the degree of muzzle rise, and the width. With these pieces of data, you can compare how your grips succeed or where you need improvement in keeping muzzle movement to a minimum. All of our bodies are different. Your data will show you how YOU can best manage recoil. Do not feel discouraged if you have to try a few different variations of your grip! Lena Miculek has a unique grip for her handgun shooting. Her support hand comes forward and around the trigger guard to help her recoil management.
If you are looking for the steps to take during your testing process, please check out the steps below. These steps help you track the data you need to find the best handgun grip for you.
X10 Steps to Test:
- Connect the X10 unit to your phone or tablet.
- Select the Recoilmeter drill. This is a live fire-only drill.
- In the settings on the drill, set the shot count to 10.
- Choose one target.
- Load your firearm with 10 rounds.
- Start the drill.
- Take the 10 shots at a single target.
- On the last shot follow up as if you were going to shoot an 11th shot.
- End the drill.
- Repeat the 10 shots with a different grip technique you would like to test.
- Compare the two sessions in your history.
- Each session will have an average recovery time. Which grip has a faster recovery time?
- Muzzle rise will show you how far the firearm comes up and off target in degrees. Which grip keeps your muzzle rise to a minimum? Or is there a difference?
- Recoil width will help you understand how much you move the muzzle from left to right. How much control do you have in each variation of grip?
- The last section is the recoil angle. You can use this to help find any weak spots in your grip control. If the firearm angles significantly in one direction, you may have a weak point in that variation of grip.
If you don't have an X10 and want one to train with, click here!
If you have the Mantis X3, you can monitor the split times during your live fire practice. (The following drill can be completed with the X10 unit.) If you can get on target faster with a specific technique right out of the gate, you can work on improving your grip for maximum accuracy. Look at your scores as well to see how your accuracy adapts and changes as you speed shots up. Training is your time to experiment so that you can find the right way for you!
X3 Steps to Test:
- Connect the X3 unit to your phone or tablet.
- Select the Shot timer drill.
- Choose one target.
- Load your firearm with 10 rounds.
- Start the drill.
- Take the ten shots at a single target.
- End the drill.
- Repeat the 10 shots with a different grip technique you would like to test.
- Compare the two sessions in your history.
If you don't have an X3 and want one to train with, click here!
Laser Academy can show you if your group accuracy changes as you adjust your grip. As a simple course of fire, you can take ten shots with each variation of grip.
Laser Academy Steps to Test:
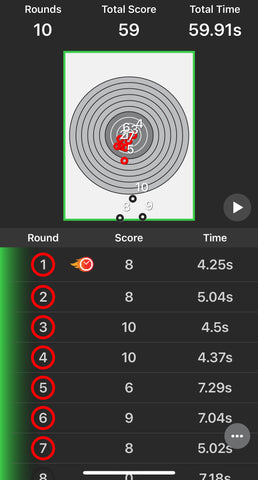
- Set up the Laser Academy targets, stand, cartridge, and app. (Use the Bullseye target)
- Make sure your firearm is clear. (No ammo in the firearm.)
- Move to your shooting position. (Grip variation you would like to test.)
- Start the single target drill and wait for the app to pick up the target.
- Take ten dry-fire shots.
- End the drill.
- Repeat the 10 shots with a different grip technique you would like to test.
- Compare the two sessions in your history.
If you don't have a Laser Academy Kit and want one to train with, click here!
Your Training To-Do List
Now that you have these three tips, put them to work! Experiment with your firearm and different techniques. Take your training to the next level by understanding what works for you and what does not. Share your results with the MantisX Enthusiast group on Facebook or your friends and family. It can spark some great conversation and insights for your training!


Rebecca Donnelly
Author